

Deploy Apache Flink Cluster on Kubernetes
In this tutorial, we learn about creating and deploying Flink clusters on Kubernetes.


In case you need to refresh some basic concepts you can read my first story of Apache Flink on Kubernetes
Introduction
When it comes to deploying Apache Flink on Kubernetes, you can do it in two modes, either session cluster or job cluster. A session cluster is a running standalone cluster that can run multiple jobs, while a Job cluster deploys a dedicated cluster for each job.
A session cluster is composed of three components:
Deployment object which specifies the JobManager
Deployment object which specifies the TaskManagers
A service object exposing the JobManager's REST APIs
Now it is time for practice! First, we will install Minikube which will run a single-node Kubernetes cluster inside a Virtual Machine.
Minikube is local Kubernetes, focusing on making it easy to learn and develop for Kubernetes. Besides Minikube, we will need somewhere to run commands against our Kubernetes clusters, and we will use Kubectl.
Installing Minikube
To install Minikube, check out on Installation tutorial and choose according to the machine you have. (I Am using Linux and so I will run the following commands to install)
curl -LO https://storage.googleapis.com/minikube/releases/latest/minikube-linux-amd64
sudo install minikube-linux-amd64 /usr/local/bin/minikube
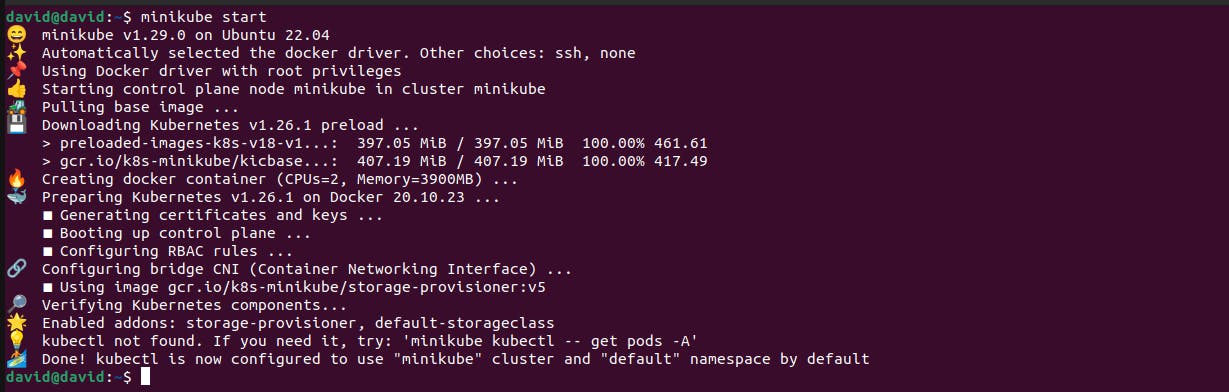
After successful installation, you can start your cluster using the command minikube start . The command starts by downloading the boot image and starting the Virtualbox VM.
minikube start
Note: In our example above, we use VirtualBox but if you want you can specify which VM driver will be used. You will use the following command:
minikube start — vm-driver=<driver_name>
In our example, Minikube was started using the Kubernetes version v1.26.1, but you are free to configure other than that version:
minikube start — kubernetes-version <kubernetes_version>.
Since am using Linux and it supports the snap package manager, kubectl is available as a snap application and so I will install it using the following command:
snap install kubectl --classic
#checking the version of installed kubectl
kubectl version --client
Running Flink session cluster
To set up and run the session cluster, we need the following Kubernetes resources:
Deployment object which specifies the JobManager
Deployment object which specifies the TaskManagers
and a Service object exposing the JobManager’s REST API
Step 1: Create a deployment object to instantiate the JobManager
In this step, we will create a deployment object which will be used to instantiate our JobManager. This deployment object will create a single JobManager with the container image Flink-1.10.0 for scala and exposes the container ports for RPC communication, blob server, queryable state server and web UI.
We will create a YAML file and name it jobmanager.yaml
apiVersion: apps/v1
kind: Deployment
metadata:
  name: jobmanager
spec:
  selector:
    matchLabels:
      app: flink
  replicas: 1
  template:
    metadata:
      labels:
        app: flink
        component: master
    spec:
      containers:
      - name: master
        image: flink:1.10.0-scala_2.12
        workingDir: /opt/flink
        args:
        - jobmanager
        ports:
        - containerPort: 6123
          name: rpc
        - containerPort: 6124
          name: blob
        - containerPort: 6125
          name: query
        - containerPort: 6126
          name: ui
        env:
        - name: JOB_MANAGER_RPC_ADDRESS
          value: jobmanager
Step 2: Create the deployment object to instantiate the TaskManagers.
After creating a deployment object for instantiating the JobManager, we will now create one for starting the TaskManagers.
The TaskManager deployment is responsible for specifying the two instances that will be available to run the jobs scheduled by the JobManager. The Docker container image is the same as the JobManager and the command to start the workers are different from the start of a JobManager.
We will create a YAML file and name it taskmanager.yaml .
apiVersion: apps/v1
kind: Deployment
metadata:
  name: taskmanager
spec:
  selector:
    matchLabels:
      app: flink
  replicas: 2
  template:
    metadata:
      labels:
        app: flink
        component: task
    spec:
      containers:
      - name: task
        image: flink:1.10.0-scala_2.12
        workingDir: /opt/flink
        args:
        - taskmanager
        ports:
        - containerPort: 6121
          name: data
        - containerPort: 6122
          name: rpc
        - containerPort: 6125
          name: query
        env:
        - name: JOB_MANAGER_RPC_ADDRESS
          value: jobmanager
Step 3: Create a service object
A service object is very important in our cluster as is it responsible for exposing the JobManager to the TaskManagers, otherwise, the workers can’t connect to the master process.
We will create a YAML file and name it service.yaml .
apiVersion: v1
kind: Service
metadata:
  name: jobmanager
spec:
  type: NodePort
  ports:
  - name: rpc
    port: 6123
  - name: blob
    port: 6124
  - name: query
    port: 6125
  - name: ui
    port: 8081
  selector:
    app: flink
    component: master
If you want to interact with the JobManager outside the Kubernetes cluster, you will have to define the type of service as Nodeport.
We have the resources we need to start our Flink cluster, now we only need to add the definitions built above to Kubernetes using the following commands:
# Adding the build resource to kubernetes using kubectl
kubectl create -f jobmanager.yaml
kubectl create -f jobmanager-service.yaml
kubectl create -f taskmanger.yaml
After running the commands, we can see the status of our deployment using the following command:
# Getting the status of your deployments
kubectl get deployments
Output:

We can also check the pods started using the following command:
# Checking the status of the pods started
kubectl get pods
Output:

Up to this point, we have a Kubernetes cluster that is running a Flink cluster with one JobManager and two TaskManagers within two slots to run jobs.
Parallelism
The TaskManager can be configured with a certain number of processing slots which gives the ability to execute several tasks at the same time and this is what we call Parallelism.
Those tasks can be subtasks of the same application or from different applications and through this we achieve distributed computing. There are three kinds of parallelism;
Job parallelism - Executing several different jobs simultaneously.
Task parallelism - It is the concurrent execution of different tasks
Data parallelism - This is about partitioning your data and having multiple operators executing those subsets of data if you already worked with Apache Kafka the concept is similar to each partition of a topic.
Now that you have the cluster set, it is time to run the application which implies access to the Web UI of Flink, this is not a must since there is an option of deploying and starting the job application by the Rest API of Flink or by the Flink utilities.
Minikube provides a command which is used to retrieve the URL of the service and by this, we know the endpoint of the Web UI of Flink.
# Retreaving the URL of the service
minikube service jobmanager --url
Output:

From the output, the dashboard of Flink is exposed on port 30343, and this is how it looks:
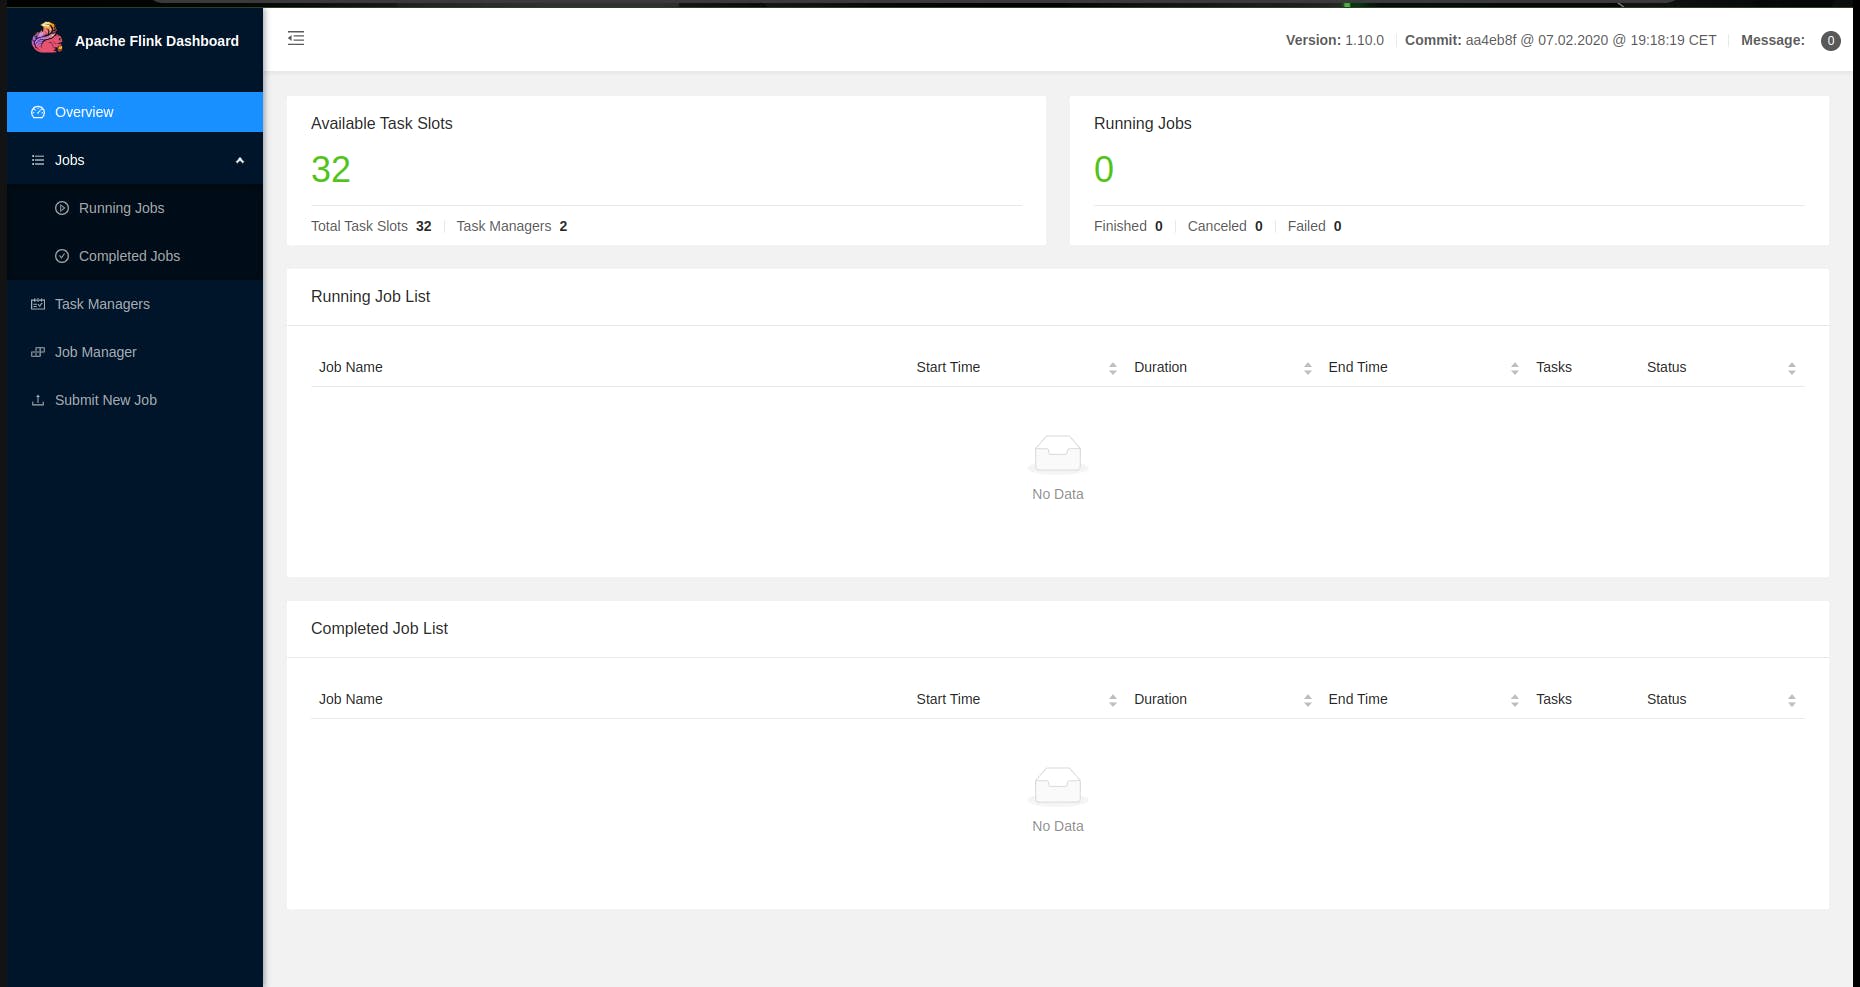
As we can see, our Flink cluster has two instances of TaskManagers which were previously created with non-Flink jobs running.
To start running your jobs, you just need to submit a job by clicking on Submit a new job which is on the left panel.
After submitting the job, you upload the job to the Flink using the button Add New, next click on the job uploaded and click on the button Submit.
Note: An important note is that if you want to interact with the job, you can use the netcat command line.
Conclusion
Congratulations! you have successfully learnt how to create and instantiate a Flink Cluster using Kubernetes.
It has been really a nice experience, watch out for more exciting tutorials.